Before I founded Dan Cooper Garden, I was responsible for buying Christmas decorations for a well-known department store. It was my dream job, taking me around the world in search of the finest, most beautiful baubles. Whilst on my travels, I was blown away by the skill and artistry of makers in Poland, so that’s where I decided to get my collection made. Inspired by the gardens of a country estate, my range includes familiar flowers, fruits and vegetables, alongside essential tools like secateurs and Wellington boots.

Making a glass Christmas decoration is a fascinating process and one that has barely changed over the last century. In this guide, I want to share with you the skill and artistry that goes into their manufacture, as well as years of accumulated trivia!
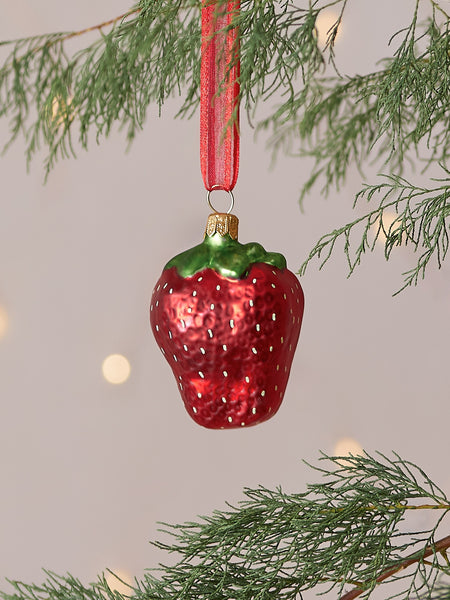
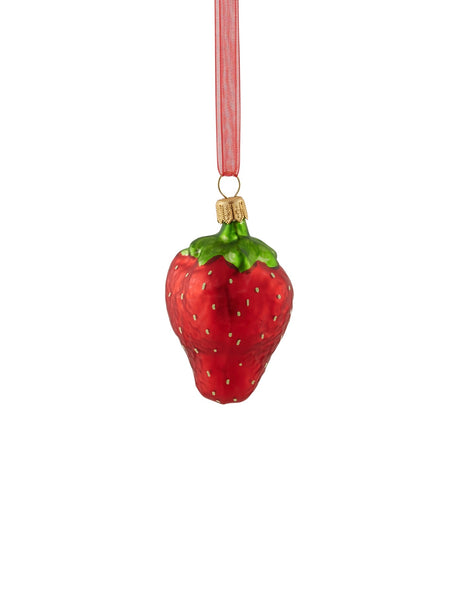
In Eastern Europe, most glass decorations are still mouth blown and hand-decorated. You can tell a mouth-blown decoration because it usually has a small metal cap. Baubles made by machines have large metal caps since the equipment used is similar to that used to make light bulbs. The process of blowing, silvering, lacquering, decorating and finishing a glass decoration is time-consuming and requires considerable skill. Some designs take several hours to make. No stage can be rushed, and each finished piece is entirely individual.

A bauble begins life as a long, thin, clear glass tube. The glass must be extremely high quality and completely free from impurities and air bubbles; otherwise, it will break. Various additives are incorporated into the glass to enhance its toughness and sparkle; this is important as it can be wafer thin after blowing into shape.
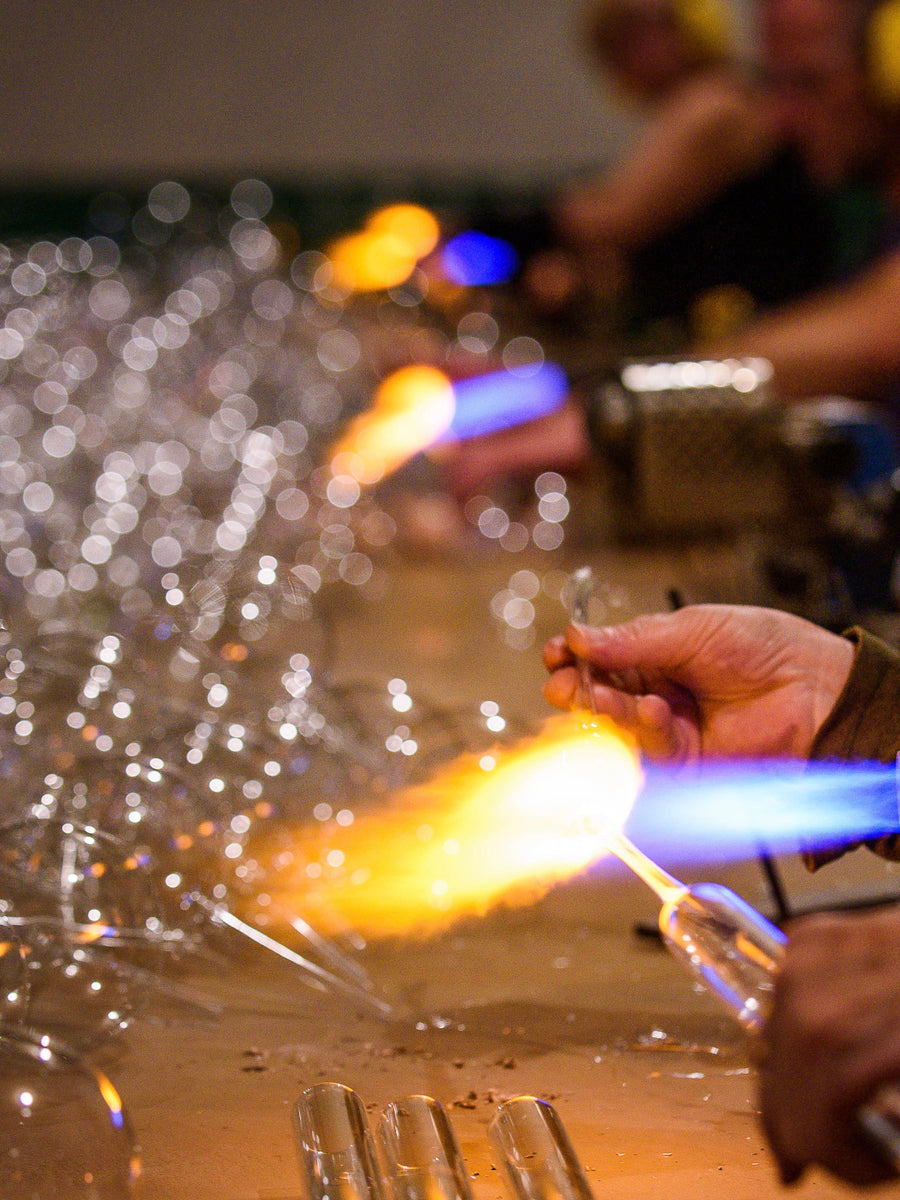
To start, a glass tube is heated to approx 1200ºC using a powerful flame. The glass is slowly rotated in the hottest part of the flame, which is blue. Additional oxygen may be introduced to make the flame hotter. As the glass becomes soft, the tube is drawn out to form a narrow stem with a bulb of glass at one end. When it’s ready for blowing, the glass shimmers like the surface of water in sunshine.

When making a round ornament, the glassblower exhales gently into the tube whilst rotating the bulb to maintain a perfectly spherical shape. To create more complex shapes, the glass must be blown into a metal mould. These are complex and expensive to cast and are kept by factories for decades. The moulds start their life as clay forms made by skilled model makers. Shapes must be designed so the detail can still be seen in the finished decoration. Once fired, the form is cast in aluminium, and the clay mould is kept in case the metal mould is ever lost.

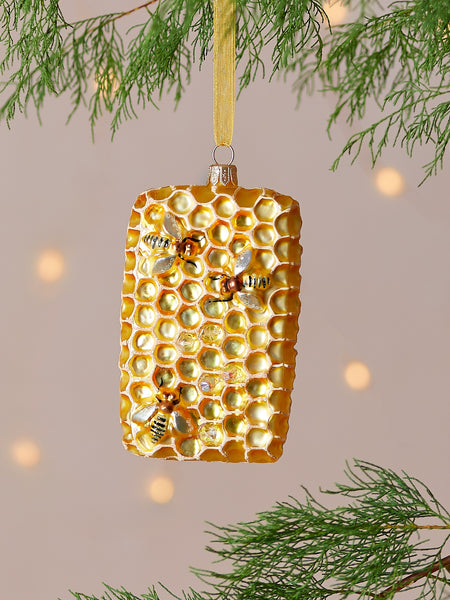
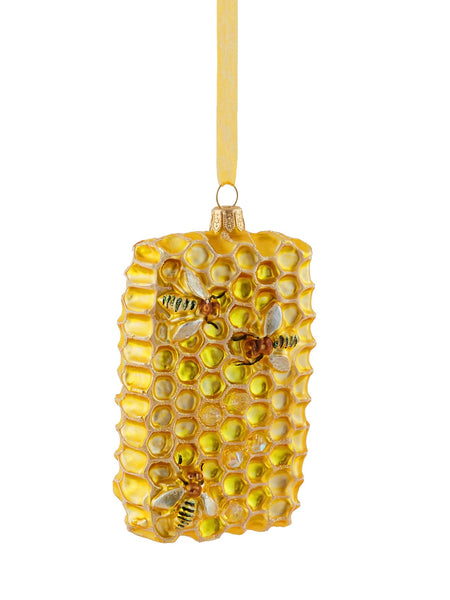
Blowing a piece of moulded glass as intricate as my honeycomb decoration requires great skill. The glass must be of sufficient thickness not to break but thin enough to pick out every detail. Freshly blown baubles must not cool too fast; otherwise, they may shatter. Each one is passed through a cool flame several times before being set to one side to harden.
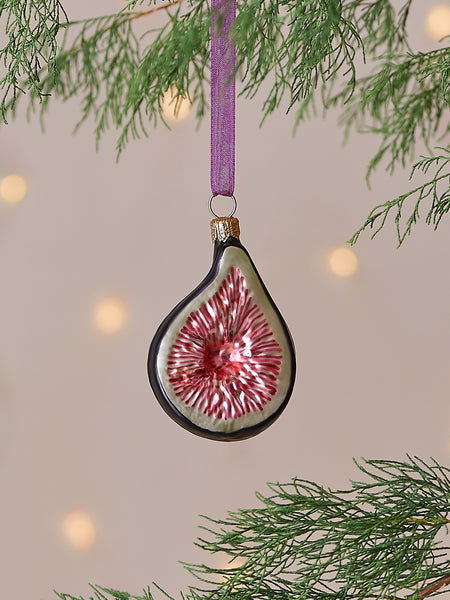
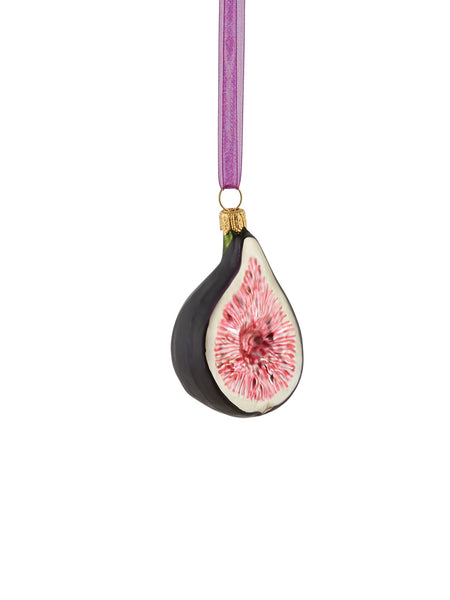
There is always some breakage, and any shards of glass are recycled. The long glass tube used to blow the bauble remains attached until the very last stage of manufacture. This is my fig, straight out of the mould.

Once cold, baubles are ready for silvering. All baubles begin their decorating journey silver in colour unless they are destined to be transparent or opaque. The process of silvering has been used for almost 200 years, a technique first invented in Germany.

Each bauble is filled with a small volume of Silver Nitrate in liquid form. The baubles are then immersed briefly in a vat of warm water. The Silver Nitrate is shaken, and, ta-da, silver is deposited on the inside surface of the glass! This manual process takes only 8 seconds.

The result of silvering is a brilliant, perfectly mirrored bauble. After a quick polish, the baubles are racked up, ready for lacquering. The sight of them en masse can be quite mesmerising. Any baubles destined to be bright silver can go straight for decoration.

Thousands of different lacquer colours and finishes are available. Finishes include matt and shiny, but also enamel, eggshell and metallic. Each bauble is dipped in a vat of lacquer, and any excess is allowed to drip off. Baubles may need two or three coats of lacquer to create special effects. The baubles then pass slowly under heat lamps to fix and harden the lacquer. The stem of the bauble is used for ease of handling at every stage of the process.

The next stage is decoration. Here the possibilities are almost limitless, which is exciting for a creative person like me! Most baubles go through multiple decorative stages before they are complete. Decorations are sometimes spray-painted to create tonal or naturalistic effects. Here’s my mandarin orange getting expert attention.

Decorators are incredibly skilled people. They do not use guidelines or stencils, only a sample bauble to copy from. It can take many years for a decorator to master the most complex designs. In the image below, a decorator is hand-painting the red lacquer onto the outside of my apple decoration. They will then paint the pips and the stalk before tinting the fruit's core and flesh.

I have endeavoured to minimise the use of glitter wherever possible whilst still retaining a little festive sparkle. Glitter is applied by spreading a thin layer of glue on the surface of the decoration; the glue is typically coloured to match so that no residue can be seen later on. Glitter is spooned over the bauble, sticking to the glued areas - any excess falls back into a tray and is used again.
When more than one shade of glitter is used, the previous coat must dry completely before the next is applied. Throughout the manufacturing process, great care is taken to minimise waste. Everything that can be recycled is reused.
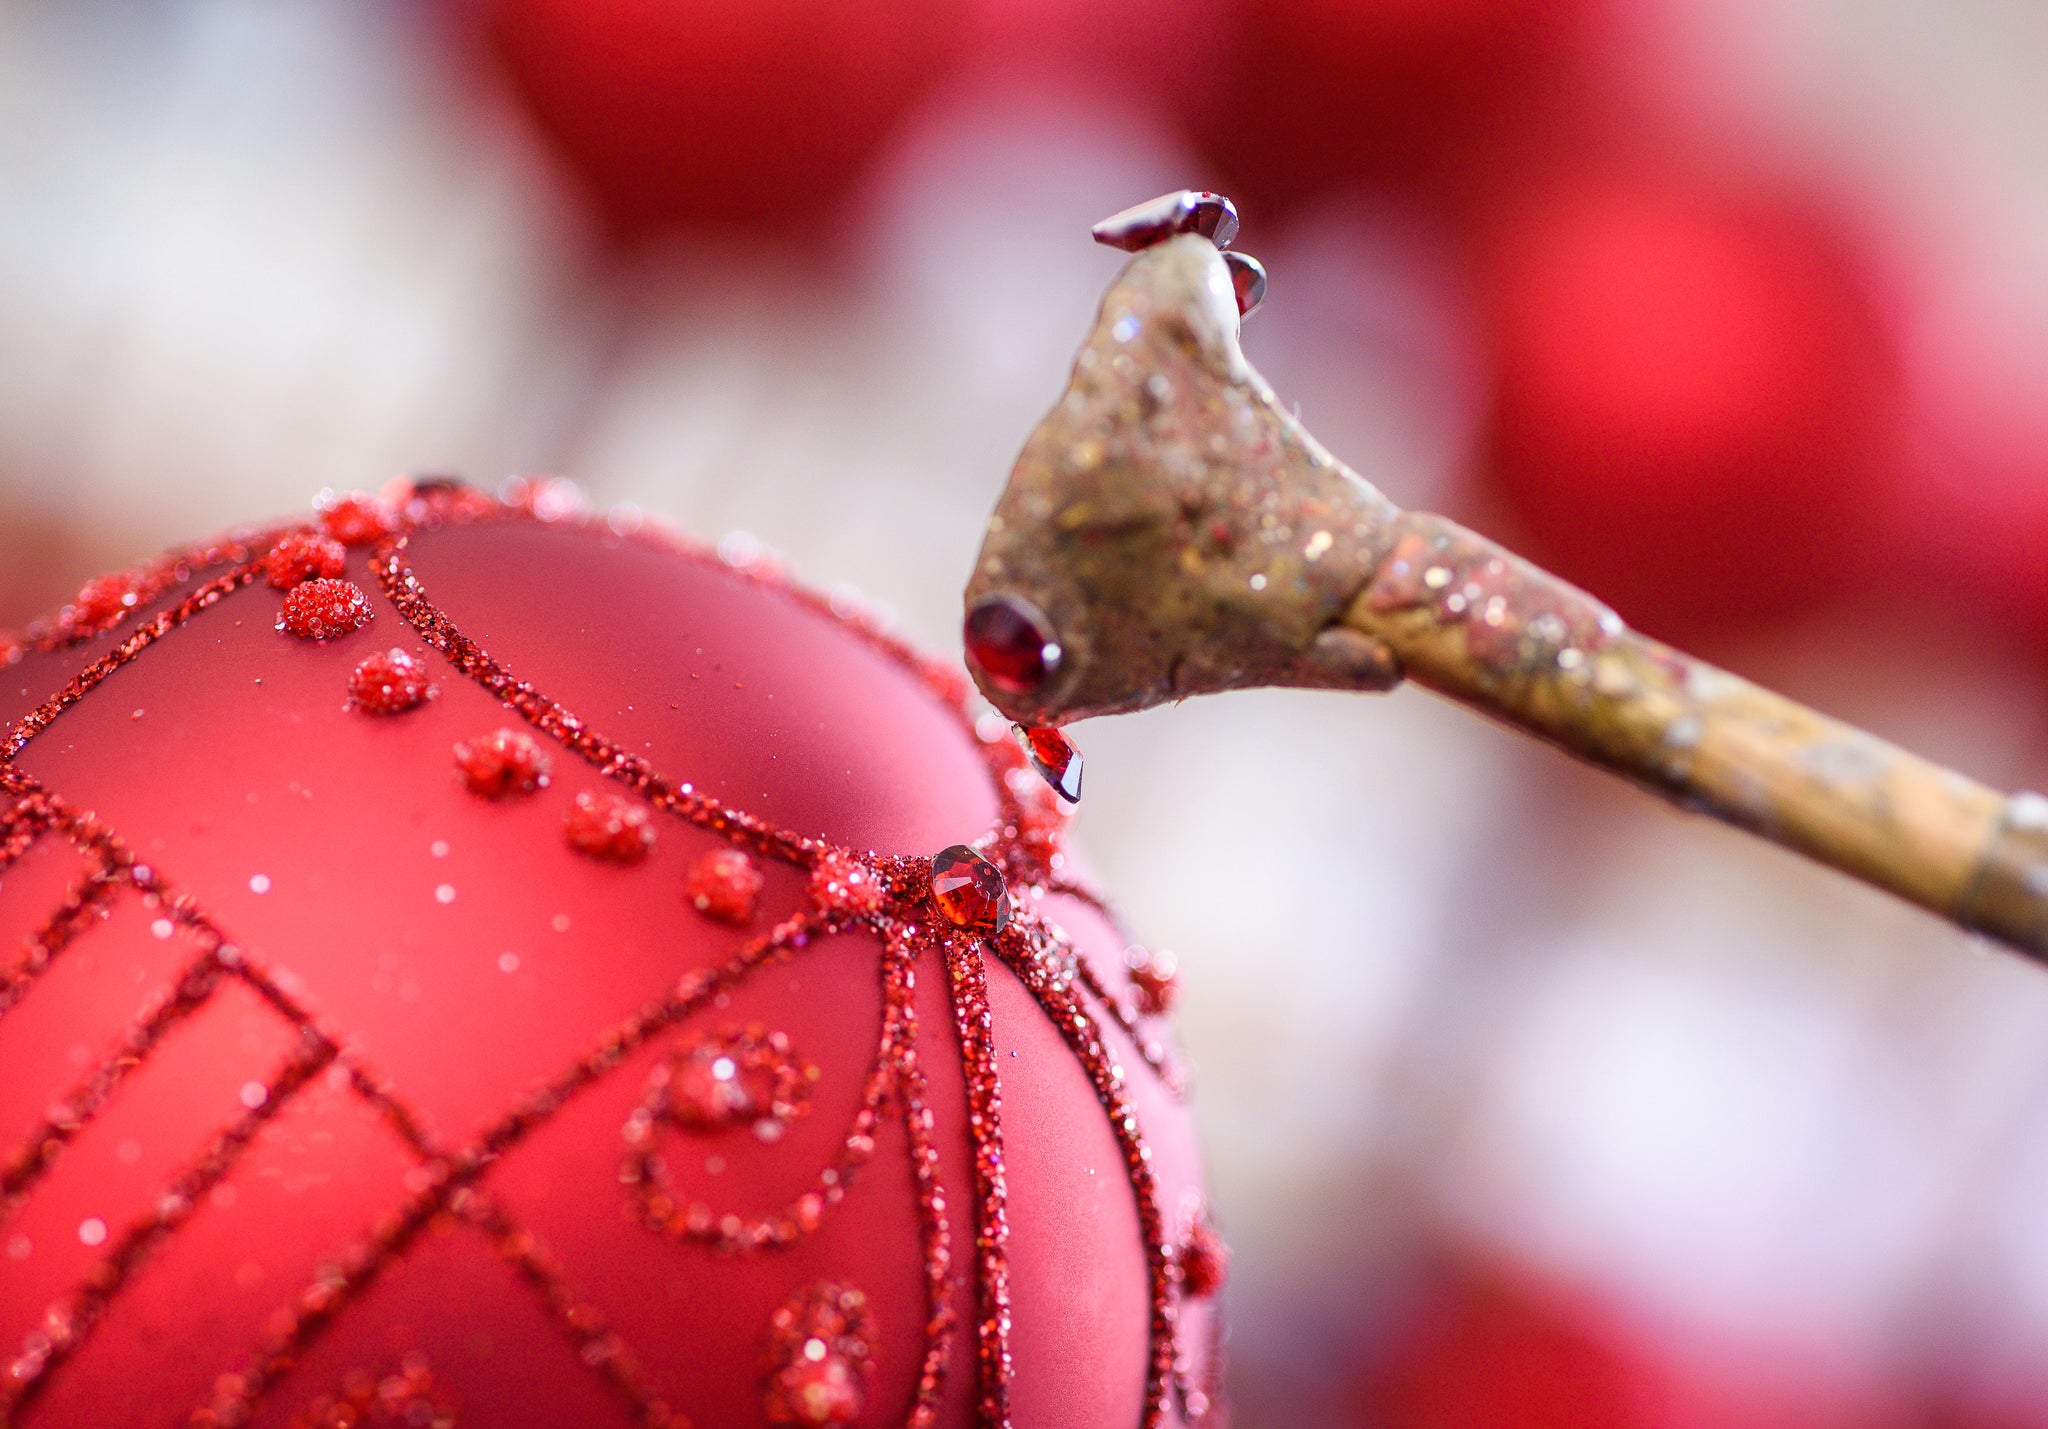
Larger gemstones like those on my butterfly and honeycomb decorations are individually positioned using a short stick with plasticine attached to the tip. Gems are picked up one by one and applied to the surface of the glass. This process is fiddly and time-consuming - I’ve tried it, and it demands excellent eyesight!

Completed baubles are dusted down with fine brushes to remove excess glitter and then racked up, still with their stems attached, ready for finishing. Immediately before packing, the glass stem is cut off using a circular saw. A metal cap and hanging loop is then inserted. For Dan Cooper Garden, each decoration is ribboned, protected in bubble wrap and placed safely in a small cardboard box to protect it on its journey to England.
Having worked with many makers in Eastern Europe over the years, I share their passion for producing exquisite ornaments that will become future family heirlooms. These covetable decorations are in a different league from the mass-produced designs from factories in the Far East. Because they're hand decorated, the detail is extraordinary and no two baubles will be identical. You can shop the whole range here, and next year I’ll add new designs for you to grow your collection further.