Our hands are the most versatile garden tools we have. We clean them, protect them, and struggle when their movement is limited or we attempt too much. Alas, we're not always as diligent with our other tools. Like our hands, they need regular care and maintenance to stay in tip-top condition.
In this guide, I explain how to look after the most common garden tools in your shed.
What's the point?
There are lots of reasons to treat garden tools well, by using them correctly and cleaning and sharpening them regularly:
- Longevity - good-quality, well-cared-for tools last longer, saving money in the long run; they also reduce the number that go to landfill. One top-notch pair of secateurs maintained well will cost you less in the long run than several cheap pairs that don't hold an edge and end up in the bin.
- Effectiveness - regular cleaning and sharpening ensure that tools work as intended, significantly reducing the effort required to use them.
- Hygiene - soil, sap, and other plant material may harbour harmful bacteria and viruses. Clean tools are less likely to spread pernicious diseases.
- Safety - tools that aren’t working properly are prone to causing accidents, strains and injuries. They might also damage your precious plants if they don't cut cleanly.
No garden tool is 100% maintenance-free, but the simpler the design, the easier it will be to look after. There are very few that can’t be spruced up quickly and inexpensively at home.
Common problems
Your number one enemy is moisture, which can come from rain, humidity or plant sap. Water causes steel blades to rust and wooden handles to swell. Leaving garden tools outside is a recipe for trouble; don’t do it, even if the weather is fine. Dew or humidity overnight can quickly cause rust patches or seize an otherwise good mechanism.
Your second threat is misuse. Using a garden tool for a purpose it wasn’t intended for or pushing it beyond its limits can be dangerous and damaging. The most common thing we do is attempt to cut branches that are far too hard and thick for our secateurs. If you find they won't cut through a branch in one smooth action, or you need to waggle them about, then you almost certainly need loppers or a saw instead! Harsh chemicals, sunlight and collision with other, harder materials such as wire or stones can harm tools.
Rust, flaking finishes, seizing up, clogging, and bluntness are all signs that prompt maintenance is required. Fear not: they can be restored in a few simple steps.
Plastic tools that have split, cracked or perished aren’t easily repaired, so it’s a good idea to avoid these in the first place. The same goes for the painted and plated finishes: they look good, to begin with, and the manufacturer knows that. Sadly, fancy finishes often flake or wear away over time, revealing the vulnerable metal beneath.
Stainless steel is used to make the majority of garden tools because it's low-maintenance, hard to bend, and holds a decent edge when sharpened. However, the Japanese and many artisan tool makers prefer to use high-carbon steel. What you get from the addition of carbon is an even harder metal that forms a superior cutting edge, but you lose the rust resistance and some degree of durability. Drop a carbon steel blade, and it will chip or break rather than bend.
Copper has a low friction coefficient, meaning copper garden tools don’t clog as readily. They will develop a mottled brown patina over time, which is protective rather than corrosive, unlike rust. Aluminium is cheap, light and non-corrosive, but nowhere near as hard-wearing as steel and won't form a cutting edge.
Essential cleaning kit
Cleaning garden tools does not require special or expensive kit. Chances are you’ll have most of the items listed below, or something similar, in a kitchen cupboard, shed or garage. Determine what works best for you as you get familiar with cleaning your equipment.
- Nylon pan scourers
- Wire wool (the grade will depend on the metal you are cleaning)
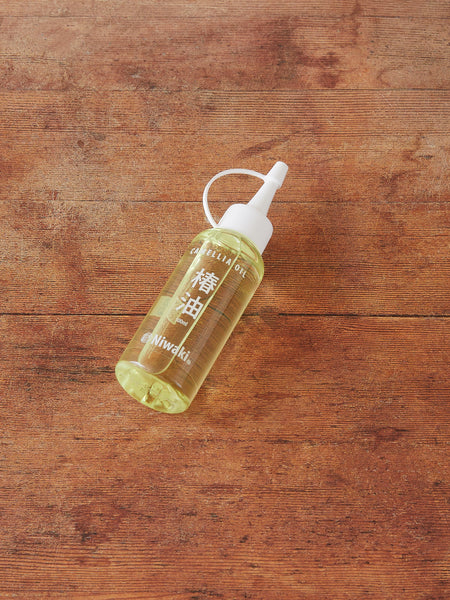
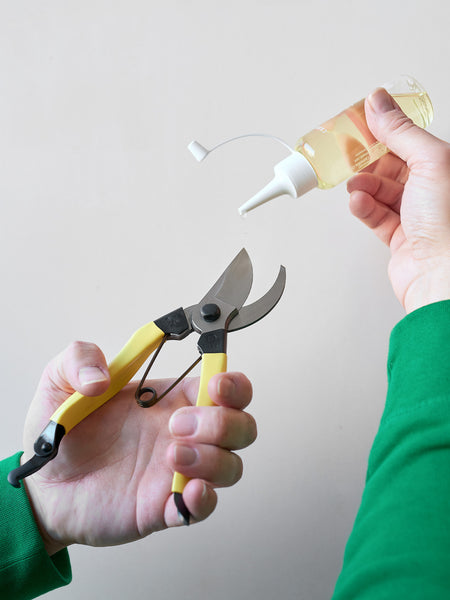
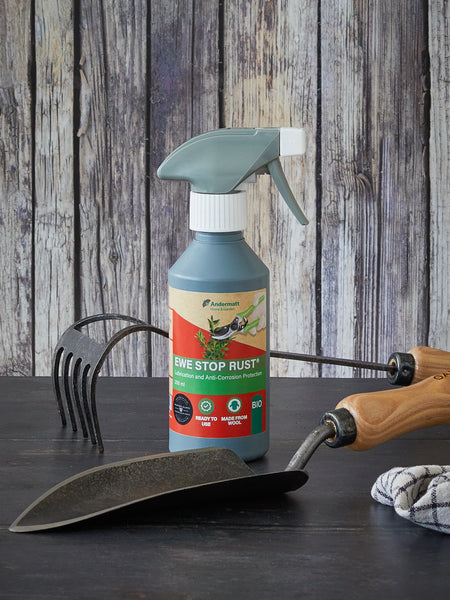
- Camellia oil (natural and non toxic) or Ballistol Universal Oil (natural, food safe and skin kind)
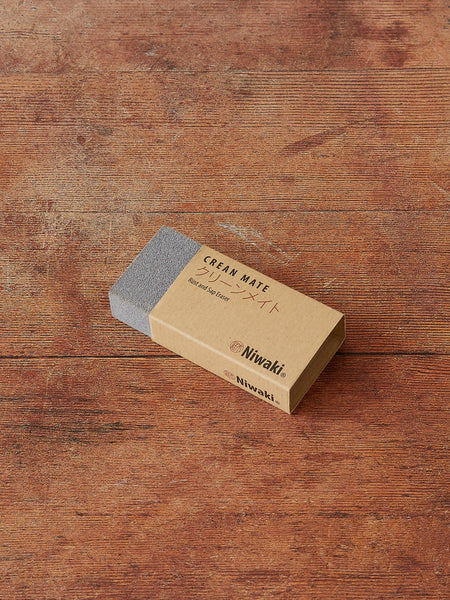
- Crean Mate sap eraser
- Sharpening stone
- Old cloths, dusters and towels
- Newspaper
- A stiff brush
- Old toothbrushes
- White vinegar
- Alcohol-based hand sanitiser to disinfect
- Linseed oil or a beeswax-based balm for reviving wood
It’s best to clean and dry garden tools after every use rather than letting dirt and grime build up. How often you need to sharpen or adjust a tool depends on how frequently you use it. Professional gardeners may sharpen their blades at the end of every day, but the rest of us probably leave it until we notice they aren’t cutting as well.
How to look after hand tools (e.g. trowels, forks, spades, hoes and rakes)
Routine maintenance:
- Remove mud, stones, and plant material using a hose or an outdoor tap, and dry immediately with an old towel or rags.
- Once completely dry, use a stiff brush to remove caked-on mud or flaking finishes.
- Wipe down all metal parts with Camellia oil or spray them with Ballistol Universal Oil to protect against moisture in the air.
- Hang tools up when out of use so air can circulate. Avoid hanging them on external walls where condensation may develop.
Occasional maintenance:
- Remove rust with wire wool or a wire brush, but be aware that this might scratch polished, painted or coated surfaces. Scratching is harmless compared to rust and will happen with use anyway.
- Once in a while, you might want to revive grubby wooden handles by lightly sanding them with sandpaper, then wiping them with white spirit to remove any dust; the prepared surface will be ready for a protective coating of linseed or Adler Garden Balm. Both are 100% natural products.

How to clean pruning tools (e.g., pruning knives, snips and secateurs)
Routine maintenance:
- Brush away excess dirt with a stiff brush, then wipe the blades with a damp rag to remove any stickiness.
- Use a Crean Mate sap eraser to clean muck from the blades - the action and outcome are much like using a pencil eraser on paper. You can use a Crean Mate with oil or water, but choose one method and stick with it.
- Wipe and then sharpen using a sharpening stone. The three main things to remember are only to sharpen the bevelled edges of the blades, not to apply pressure - the weight of the stone is enough, and to sharpen evenly along the full length of the blade.
- Spray the blades with an alcohol-based sanitiser or dip them in diluted bleach to kill pathogens (mainly bacteria, viruses, and fungi). This ensures you won’t spread diseases between plants. Disinfecting is vital if you grow many plants of the same type, for example, apples, dahlias, or roses.
- Dry the blades thoroughly and coat them with Camellia oil or Ballistol Universal Oil.
- Hang tools up so that air can circulate freely.
Occasional maintenance:
- Pop rusted springs in a jar of white vinegar and leave for 24 hours before brushing away the residue with a toothbrush. White vinegar also works brilliantly for unclogging smaller tools like snips.
- Use an old toothbrush to clean around nuts, bolts and joints. Some secateur manufacturers advocate dismantling and reassembly for cleaning and sharpening, while others do not, as this can affect the tool's balance and alignment. Always check the original packaging or maker’s website before taking pruners apart. Ballistol make a nifty oil pen that's ideal for lubricating smaller pruning equipment.
- If you’ve cut through wire or struck a nail or stone, your blades may have obvious nicks and dents. Correction is often possible with a diamond file, or you might prefer to have an expert do the work. Brands such as Felco and Niwaki offer sharpening services for their tools.
- Tighten bolts if you feel the action has become loose, but take care not to overdo it.
- If you aren’t planning to use your tools for a while, ensure they can’t get damp. If in doubt, bring them indoors and store them in a cupboard, out of reach of children. A tool roll offers the best protection.

For all matters related to blades, exercise caution. Always work on a firm surface, at a comfortable height in good light. Pay attention to what you are doing and know where the blades are in relation to your body. If you get distracted, stop and begin again when you can concentrate. Don’t hang tools where they could fall on a foot or, heaven forbid, a pet. Never store them above head height or within reach of a child.
If you have a tool maintenance tip I’ve missed and would like to share it, please contact me at hello@dancoopergarden.com, and I can add it to future edits. And, if you found this article helpful, why not forward a link to a friend?