Celebrating the richness and colour of the autumn season appeals to me much more than Halloween. The garden and allotment are still bejewelled with flowers in smouldering shades of orange, red, gold and plum. As the weather becomes increasingly cool and unsettled, and as the nights draw in, I feel more inclined to cut the last blooms and enjoy them indoors.
In this post, I share how to make a stunning autumn arrangement combining dahlias and other seasonal flowers in a vessel fashioned from a hollowed-out pumpkin. It’s a quick and easy project that will fill your home with warmth and colour. Position your arrangement on a front windowsill or hall table to welcome visitors, or place it in a hearth: the blaze of fiery shades is guaranteed to cheer up the gloomiest autumn days.

For each arrangement, you will need the following:
- A small to medium-sized pumpkin or squash – choose whichever colour and shape appeal to you.
- A pint glass or jam jar that will fit snuggly inside your hollowed-out fruit.
- A sharp knife – I find one with a serrated edge cuts best.
- Good old tap water
- Flower food (optional)
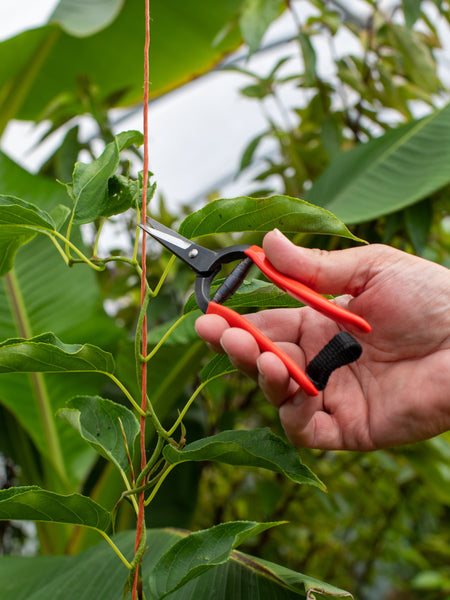
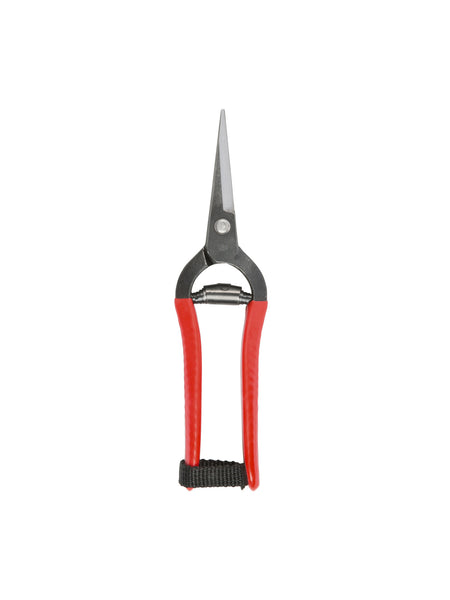
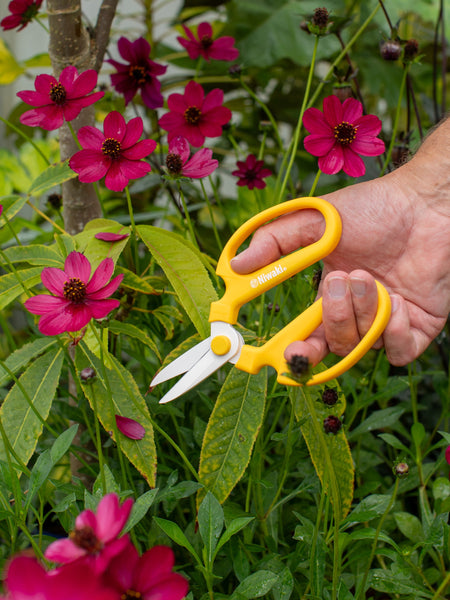
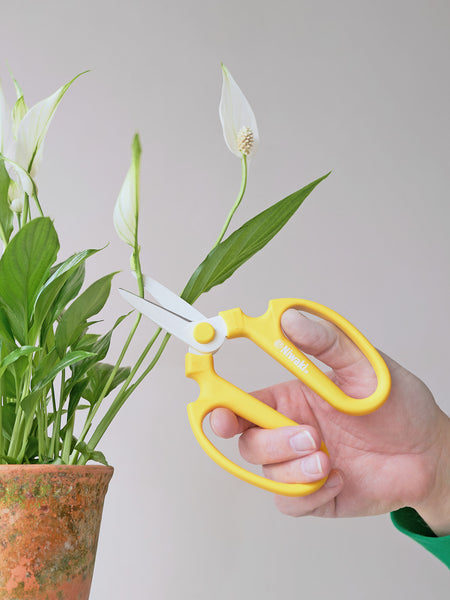
- A pair of sharp snips, secateurs or flower scissors
- Lightweight gloves to protect your hands (optional)
- A selection of autumn flowers and foliage – dahlias, chrysanthemums, salvias, heleniums, helichrysums, zinnias and Carthamus work particularly well, but choose whatever pleases you.
In my small arrangement, I use Dahlia ‘Normandie Frills’, D. ‘Jowey Chantal’, safflower (Carthamus tinctorius), Helianthus ‘SunBelievable™ ‘Brown Eyed Girl’ and flowers from the Jerusalem artichoke (Helianthus tuberosus) on our allotment.
In my large arrangement, I use Dahlia ‘Black Jack’, D. ‘Nicholas’, D. ‘Brown Sugar’, D. ‘Happy Halloween’, D. ‘Chimborazo’ and D. ‘Hadrian’s Midnight’ with heleniums, rosemary and fountain grass (Pennisetum).
Watch the ‘How To’ Video Here:
Start the arrangement by gently cleaning your pumpkin with a sponge to remove residual grime. Then take an upturned pint glass or jar, placing it centrally over the stalk at the top, and mark a line around the rim using a fine-tipped marker pen; this is safer than cutting straight around the edge of the glass.
Having removed the vessel, cut out the circle with a sharp knife. Keep your fingers well out of the way: this should be a fun project, not one that ends with a trip to A&E! Properly cured pumpkins have tough, smooth skin, so be prepared to go around a few times with the knife before you can lift the ‘lid’. If the pumpkin's stalk is short, I find it slightly easier to push the lid inwards first to get a grip on it that way.
Next, remove the flesh and seeds. A metal tablespoon with a reasonably thin edge works best to scrape away the pith, which can be stringy and clingy. If you have an especially nice pumpkin and would like to have a go at growing your own next year, save a few seeds. You can dry them by spreading them out on a piece of kitchen paper for a few days before storing them somewhere cool, dry and dark until late spring.
Try to remove as much of the soft flesh as you can and dry the inside of the pumpkin with kitchen paper to avoid mould developing later. You should find that your pint glass or jar fits snuggly inside the cavity you’ve created. If it rattles around, or does not sit straight, don’t worry. Put some sand or dry rice in the bottom of the pumpkin and that should create a firm base (both can go in the compost bin later). Fill the vessel - not the pumpkin - with cold water, adding flower food if you have it.
Now for the fun part …. adding the flowers!

You don’t need any floristry skills to make this arrangement, but if you are skilled and experienced, you can go to town by adding lots of artistic flourishes.
I recommend starting with a generous amount of foliage to create support for the flowers that come later. Bushy plants like rosemary, eucalyptus, or smoke bush (Cotinus coggygria) work well. Four or five sprigs of foliage should suffice. Strip away any leaves that will sit below the water line to prevent the water from turning sour and smelling rotten.
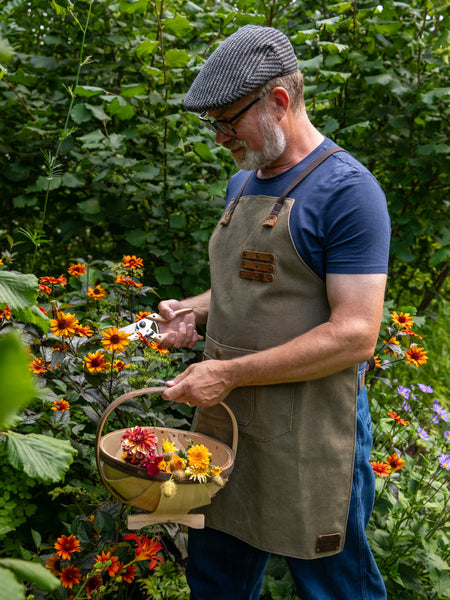
Keep your flowers in water in a cool place until you are ready to use them, and re-cut the stems as you position each flower. I use flower scissors with Fluorine-coated blades that don’t get sticky with sap so quickly. Plants tend to produce blooms on shorter stems at the end of the flowering season, and these work well in this stocky arrangement. I start with flowers that will sit on the pumpkin's rim and build steadily upwards to create a globe shape. As a guide, you want the dome of flowers to be a similar size to the pumpkin or a little bigger. Use three or five of the same flower if you can spare them: as with so many things, the finished arrangement will look more professional and harmonious if there is a degree of repetition. Turn the pumpkin as you add flowers, checking that it looks pleasing from every angle.
Continue adding flowers and adjusting stem lengths until you have a neat ball. If you have a few little gems, like the ‘Hadrian’s Midnight’ and ‘Chimborazo’ dahlias I used, add these at the end to stud the arrangement – as you would decorate a baked ham with cloves – keeping them evenly spaced apart.

I added some whispy fountain grass to my arrangement to make it more explosive. Old man’s beard (Clematis vitalba), with its shaggy, spidery seed heads would look super cascading over the edge of the pumpkin like steam pouring from a bubbling cauldron. If I’d had some to hand, blood-red Virginia creeper (Parthenocissus quinquifolia) or twining grape vine (Vitis vinifera) would also look super against the smooth surface of the pumpkin.
All that remains is to admire your handywork! Find a suitable focal point for your arrangement and stand it on a mat or coaster to protect surfaces that might mark. Top up the water in the vessel every few days, changing it entirely if you have the time and energy.
Quick and inexpensive to create, an autumn pumpkin arrangement makes a great gift or a fun activity for a group of friends. Do have a go at this project, and let me know how you get on!
Filming and photography: John D. McKenna (@monty__john)


